Cryptocurrencies offer exciting new opportunities—but only if they are properly protected. One of the most secure ways to manage your crypto assets is with a Trezor® hardware wallet, a trusted solution that keeps your private keys offline and out of reach from online threats.
To get started, the official and only secure setup process begins at Trezor.io/Start, where users can safely initialize their Trezor device and take full control of their digital assets.
This article walks you through the entire setup process step by step, explains key features, and offers critical security tips to help you get started safely.
Trezor.io/Start is the official onboarding portal for all Trezor devices, including:
It guides users through:
⚠️ Always start at https://trezor.io/start and never trust third-party links.
Here’s exactly what to expect when you visit Trezor.io/Start and begin setting up your hardware wallet:
Once you visit the page, you’ll be asked to select your Trezor model:
This ensures you get the correct instructions and firmware update process.
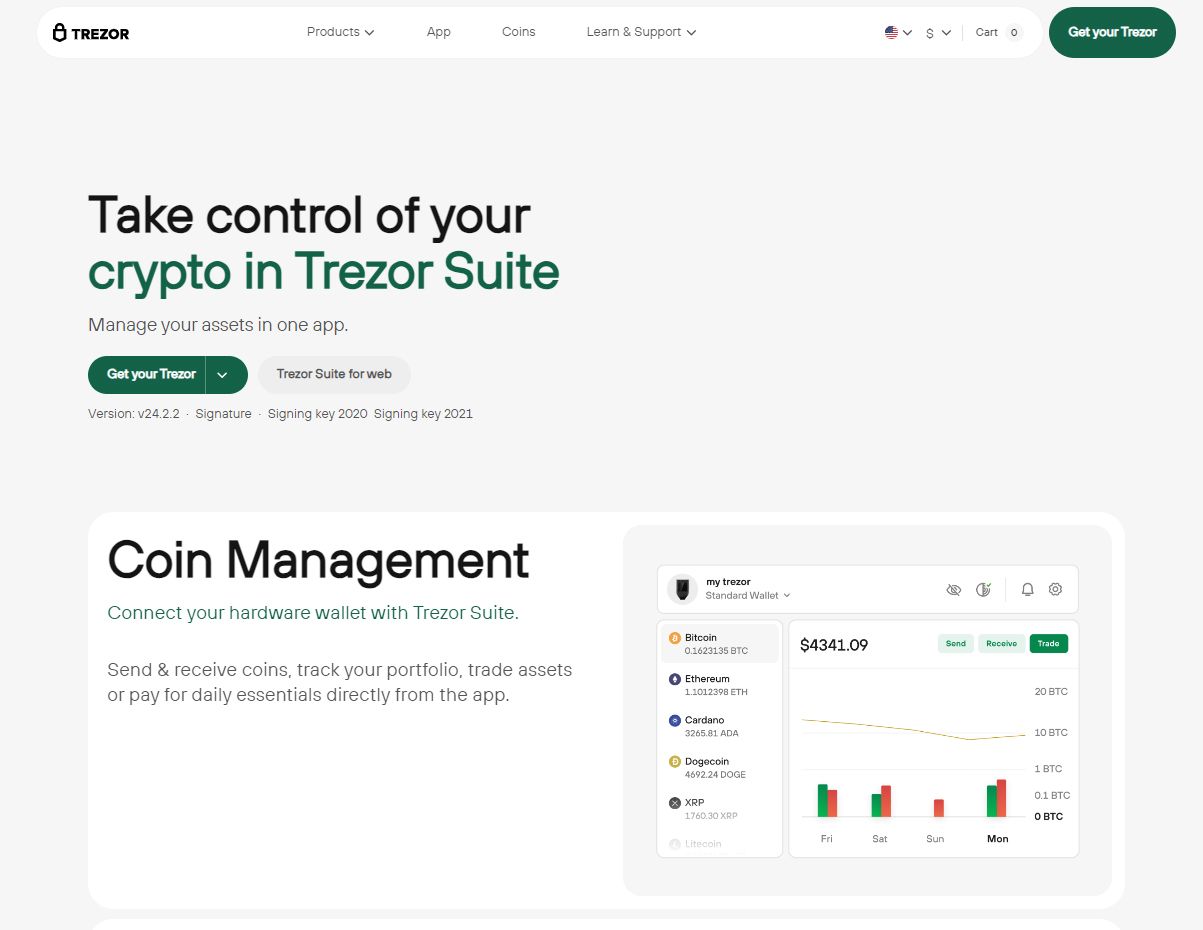
Next, you’ll download Trezor Suite, the official desktop and browser-compatible app that acts as your secure interface with your wallet.
Trezor Suite allows you to:
🔐 Always download Trezor Suite from https://suite.trezor.io
Plug in your Trezor device using the included USB cable.
You’ll be prompted to either:
Choose “Create new wallet” to generate a new secure wallet on your device.
This is the most important step. Your Trezor will display a 12-, 18-, or 24-word recovery seed phrase, one word at a time. Write this down by hand on the provided recovery card and never take a photo or store it digitally.
🔑 If you lose this recovery seed, you cannot recover your funds.
You’ll now choose a secure PIN code for your device. This protects against unauthorized physical access. Use a strong PIN that is hard to guess but easy for you to remember.
Once your wallet is initialized, you can:
All transactions must be approved on the device itself—adding a powerful layer of protection.
Trezor is designed with security as the top priority. Features include:
Trezor.io/Start is the only safe starting point for setting up your device. Be cautious of:
❗️Trezor will NEVER ask you for your recovery seed online.
Bookmark the official site:
🔗 https://trezor.io/start
Q: Can I use Trezor without a computer?
A: While Trezor requires Trezor Suite (on desktop), the Model T supports OTG connections with mobile for some features via supported apps.
Q: What happens if I lose my Trezor device?
A: As long as you have your recovery seed, you can restore your wallet on a new Trezor device or a compatible wallet.
Q: Is Trezor safe to buy from Amazon or other retailers?
A: It's safest to buy directly from Trezor.io or authorized resellers listed on their website to avoid counterfeit products.
Trezor.io/Start is the only official starting point for setting up your Trezor® hardware wallet. By carefully following the steps outlined, you ensure your crypto assets are protected with industry-leading hardware security.
Whether you're a beginner or an experienced investor, securing your digital wealth with Trezor is one of the smartest moves you can make.